

Basketball hoop installation guide
Most in-ground hoops come down to the same five stages: plan, dig, pour, level the anchor, then build. What each stage involves, and why the anchor is the one you cannot rush. Includes the MegaSlam installation manuals.

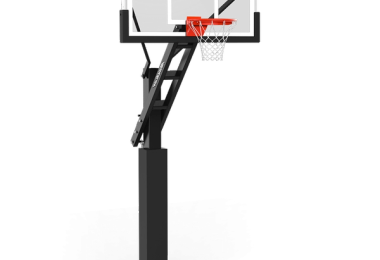
Installing a MegaSlam basketball hoop
Installing a basketball hoop is a project that rewards good planning and careful preparation. While individual systems vary, most in-ground basketball hoops follow the same core principles: a solid concrete foundation, accurate alignment, and safe assembly of heavy components.
MegaSlam hoops installation manuals
Before starting installation, review the official MegaSlam installation manual for your specific model:
- MegaSlam 72 Installation Manual (opens in a new tab)
- MegaSlam 60 Installation Manual (opens in a new tab)
- MegaSlam Game Light Installation Manual (opens in a new tab)
- MegaSlam Net Protect Installation Manual (opens in a new tab)
These manuals contain all model-specific measurements, fixings, torque settings, and safety requirements.
A high-level guide to installing MegaSlam in-ground basketball hoops
This guide provides a high-level overview of how MegaSlam in-ground basketball hoops are installed, from site planning and foundation work through to final assembly and first use. It is intended to help you understand the overall installation process, what to expect at each stage, and how to prepare before you begin.
Detailed, model-specific instructions are provided in the official MegaSlam installation manuals and should always be followed during installation. If you are installing a different brand of in-ground hoop, the same general considerations around foundations, curing time, clearances, and safe lifting will still apply.
1. Planning & preparation
Choose the location for your MegaSlam hoop, ensuring adequate clearance for safe play and proper installation.
At regulation playing height of 3.05 m (10 ft), the MegaSlam 72 has an overhang of 1.22 m (48″) from the face of the pole to the front of the backboard. The MegaSlam 60 has an overhang of 0.91 m (36″). Use these dimensions to accurately position the pole relative to your playing surface and any surrounding structures.
Important: Striking underground utilities is dangerous and costly.
Before you begin digging, always check for buried services such as electricity, gas, water, or drainage.
Verify service routes both before excavation and as digging progresses.
2. Digging & pouring
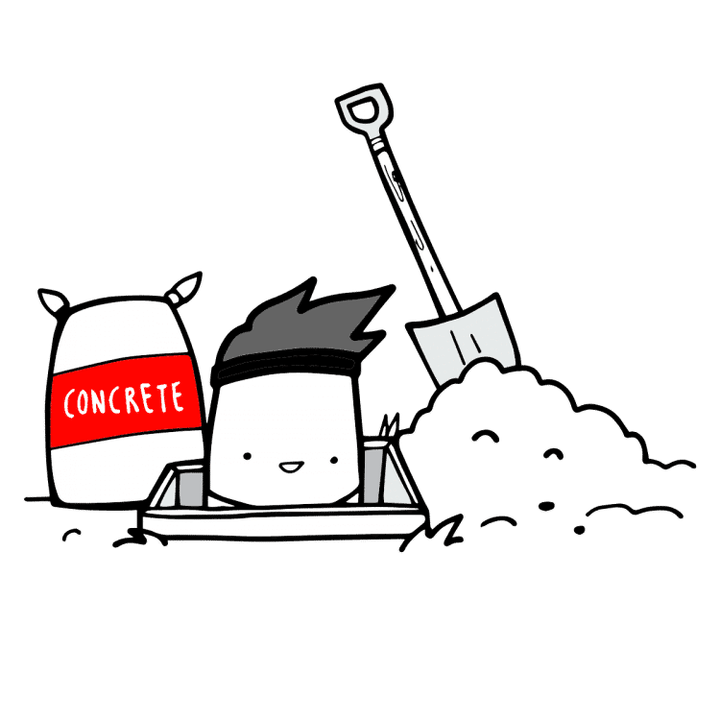
Excavate a hole 1.25 m (49″) deep to create a stable foundation for your in-ground MegaSlam hoop.
This footing will require a substantial volume of concrete, so ensure you are fully prepared before you begin. Review the detailed installation instructions carefully to confirm the required hole diameter, concrete specifications, and reinforcement details prior to excavation.
A properly formed and cured concrete foundation is critical to long-term stability and safe play.
3. Level your anchor
After allowing the concrete to cure for at least 72 hours, carefully level the anchor system.
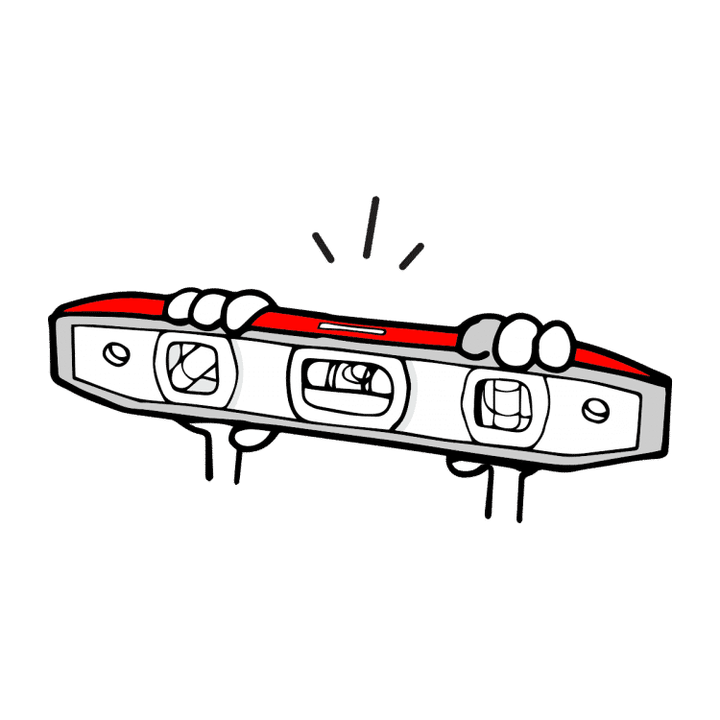
Accurate levelling is essential for proper backboard alignment and true ball response. Use a spirit level to ensure the anchor plate is perfectly level in all directions before proceeding with assembly.
For best results, refer to the MegaSlam anchor levelling video, which demonstrates the correct adjustment process step by step.
4. Install your system
Installing a MegaSlam hoop is a demanding task and should not be attempted alone. The system components are extremely heavy, particularly the tempered glass backboard, and a minimum of three strong adults is required for safe lifting and assembly.
Follow the model-specific instructions in your installation manual carefully, as assembly steps and component configurations vary between models. Take your time, use appropriate lifting techniques, and ensure all fixings are tightened to the specified torque settings.
Proper installation is essential for safety, performance, and long-term durability.

5. Start playing
Once the final bolt is tightened and all fixings are securely in place, your MegaSlam hoop is ready for play.
Lower the rim to your preferred height, confirm all components are stable and all fixings are torqued to specification. The hoop is ready for use.
Related products
Frequently asked questions
View all FAQs →More questions? Browse the full basketball court FAQ