DIY Basketball Court Surface & Hoop Installation
Depending on your choice of court surface, hoop and court components, installing a court can be simple with the right tools and labour. All of OnCourt’s basketball court products are suitable for DIY installation. To install a court surface, basketball hoop and components, you’ll first need a suitable sub-base. Check out How To Build A Basketball Court Sub-Base for a better understanding of the requirements.
Find A Local Installation Expert For Sub-Base Construction
There are great benefits of partnering with local groundworks specialists for your basketball court installations. OnCourt will provide all the necessary technical drawings, ensuring a seamless collaboration between us and your chosen local contractor. With these detailed guidelines, local experts can tap into their intimate knowledge of the terrain and conditions in your area, ensuring a tailored approach to your project. Opting for a local installer not only offers you the advantage of specialized knowledge but also means reduced costs and a more personalized service.
Comprehensive Technical Support
Once your site is assessed and the ground is prepared, your chosen expert can oversee the entire build, ensuring a court that’s ready for play from the get-go. Embrace the advantages of local expertise, backed by OnCourt’s comprehensive technical support, for a smooth and efficient basketball court installation experience.
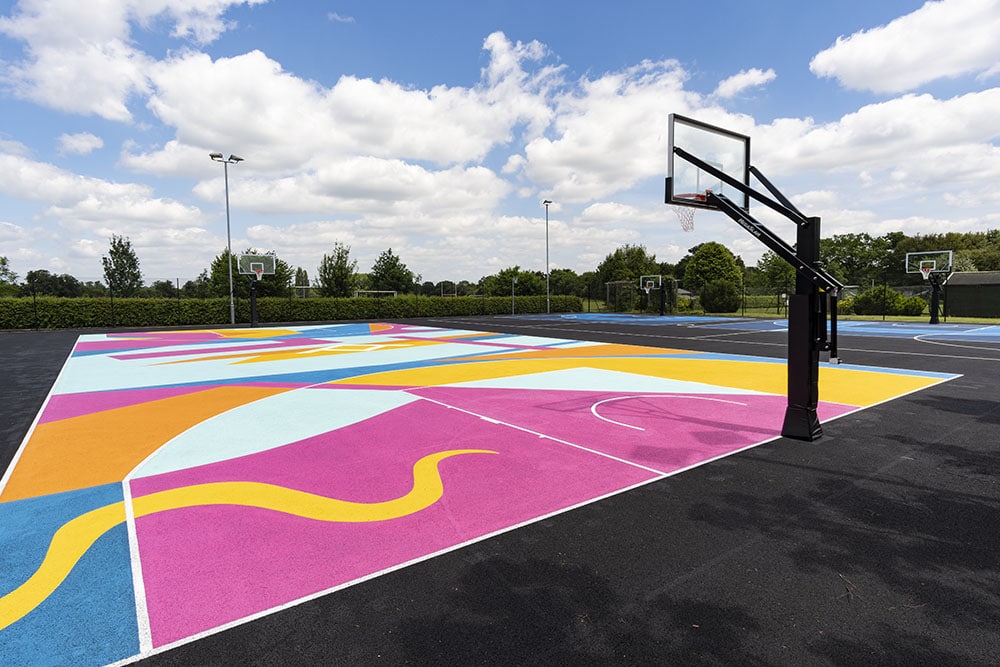
Installing An OnCourt Basketball Court At Home
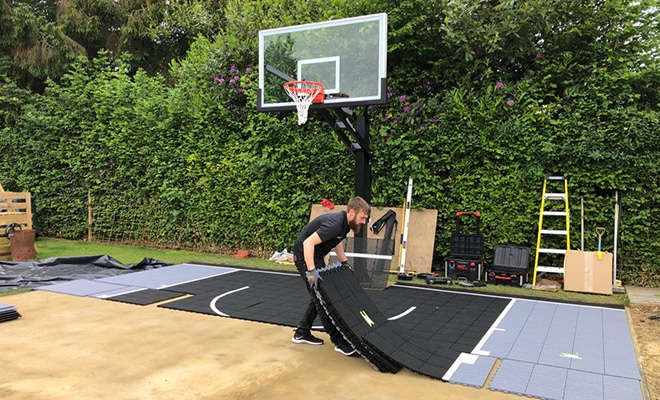
Installing a Basketball Court Kit from OnCourt following sub-base preparation, involves a few simple steps. Court surfaces are delivered in packs ready for simple self installation. Each court comes numbered, with a map for reference. A team of 2 people can install even the largest half court within a day. A few more helpful hands will make light work of this element of the court project. Learn more about residential basketball installations in our Ultimate Guide to Home Basketball Courts.
DIY Modular Basketball Court Surface Installation
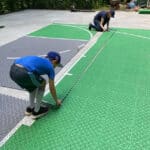
Before you begin installing the court surface, review your packing slip and verify everything is included and has not been damaged in transit. Review the numbered court layout document and check your sub-base is ready for tile installation. Move the pallet close to the court, remove wrapping and you’re ready to begin…


Step 1
The easiest way to install the tile surface is to start in one corner with the hook end of the tiles facing to the right and down; or in other words pointing towards the corner. Locate Panel #1 on your diagram and find panel #1 of your tiles and position into place.
Step 2
Locate Panel #2 and lay into place, continuing in numerical order moving across your diagram until all panels are in place.
Step 3
Step back and visually inspect to ensure your sections are in their proper place. Make sure the basketball lane lines up with your goal, as well with any tennis lines, logos and other lines matching your diagram, etc.
Step 4
Lock your tiles together. Starting with #1 and move across your court in the same order you laid the tiles down. By gently stepping on the seams, starting at one corner, the hook ends are pressed into the receiver end for a strong hold.
Step 5
Install your ramps and corner pieces. You will have 2 types of ramps, a hook and a receiver, and 4 corner pieces.
Step 6
Play ball on your newly installed court surface!

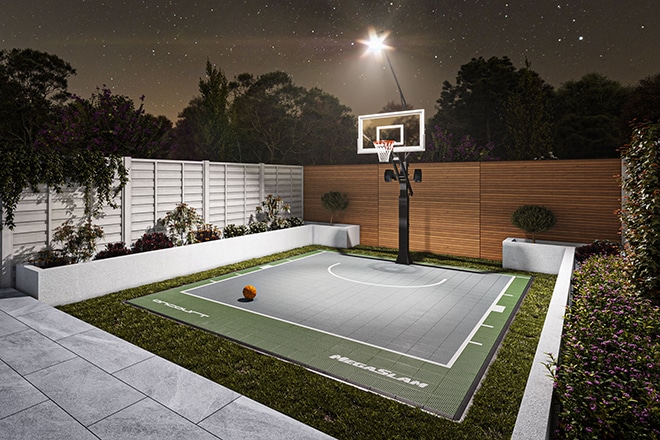
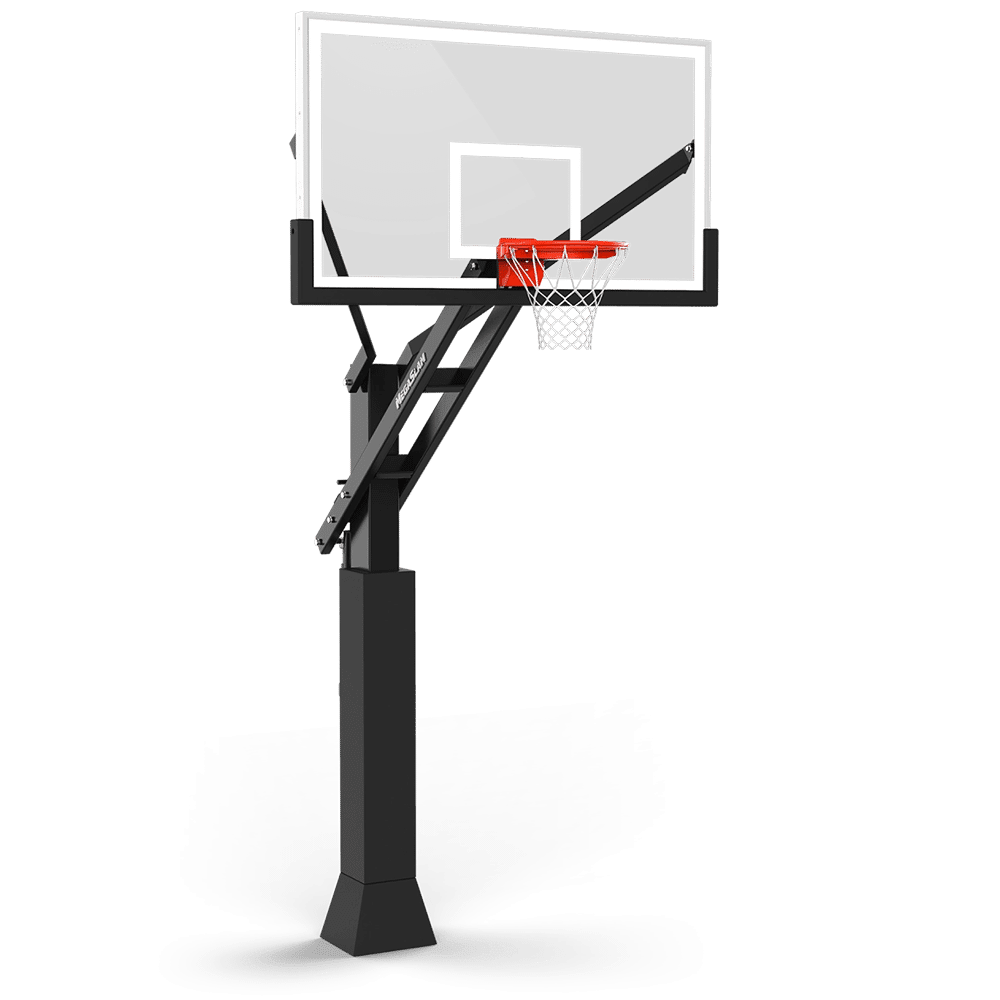
Installing Mega Slam Hoop Systems
Mega Slam systems are straight forward to install and with the right tools and some helping hands, can be assembled in 1-2 hours. The system components are very heavy so without lifting equipment, you’ll need 3-4 people to support you during installation.
Basketball Court Installation FAQ
OnCourt basketball court surfaces can be installed by anyone following simple instructions included in your delivery. Plug and play court surfaces are laid out following the diagram and clipped together with light pressure.
If the sub-base is ready, once the tiled surface is installed, you’ll be able to play immediately. If you’re installing a Mega Slam Hoop, so long as you’ve followed the detailed instructions, you’ll be ready to dunk the moment the last bolt is tightened.